Pixel Fx Designer Documentation
A downloadable project
PIXEL FX DESIGNER
Particles Tab | |
The particles tab is the animation core. Here you can edit the main properties that will affect to the emitter selected. BASIC > The simple values and the point you should start to customize your emitters. MOTION > Create complex paths or simple movements. TIMELINE > Global timeline for all emitters that allows you change all the properties at X point of the animation. VISUALS > Select or imor particles. Scale, rotation and speed in case of animated particles. PHYSICS > You have basic physics on the right and attractor/gravity point to the left, useful for charging FXs. | |
Render Tab | |
Loop Animation creates perfect seamless looped animations. If you press "loop animation" and after you make some change you will need to press again the button so the tool can fix any possible problem. Values than can break a loop animation are: Particle Number, Life of the particle and movement effects in the motion on tab inside particles. | Render FPS is useful to make your animation with less frames. By default generates animations with 60 frames. Manual Rendering. Draw the particle effect movement with the mouse. Just click in the particle render window and move. Keep in mind that with manual rendering the loop animation is not possible due the movement effect is made manually. |
Color Tab | ||
Here you can edit all the related with the color effect even set the dither amount. Also you can import your own dither pattern. By default applies a checks dithering due is the most used in pixel-art. On palette selected you can ignore colors clicking on the color placed on the grid. you don't want to be used in the effect. For example if you are doing a fire effect you can ignore blue/green colors. Very useful too to create 1/2bit FX so the animation only will use 2,4... colors form the palette selected. To set exactly the colors you want for Birth/Mid/Death of particle life press right-click on the RGB/HSV sliders under the color picker to set manually. This will give you more control about color. | ||
Effects Tab | ||
The effects on this tab will be applied to the canvas as postprocess. They are actually checboxes but in the future will be sliders too to config the amount of effect. | ||
Custom Tab | ||
SCALE > Used to pixelate the image. Max 8. CANVAS WIDTH/HEIGHT > Resolution/size of each frame in the spritesheet. IMPORT REFERENCE > Add an image as reference to see exactly how the FX will look in your game. RENDER > If you want this image appears in the final render. FRONT > Add image reference in front ALPHA > Image reference transparency | ||
Export options | ||
.PNG exporter. This is the default method that should work with any setting. Be in mind that if you set Scale1, more than 100 frames, etc... be sure your GPU can handle all this data due the spritesheep image will be so big. | .Gif exporter. This method is experimental. Use it only with max 60-120 frames, Scale 4 and with canvas width/height at 400x400. Other settings may crash. | .Json exporter. This one just export all the project data with emitters, parameters,etc... in text format. In case you want to recreate in your engine. Be in mind you will have to build the system yourself to use it. |
Problems with Mac? | |
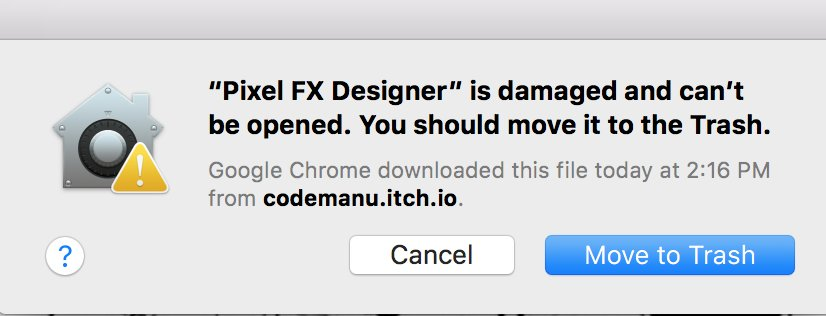 | After unzip be sure the permissions are correctly. This is the official solution that GameMaker developers offers. Or check this solution in the official apple communy: App is damaged and can’t be opened inSierra! Other Solution |
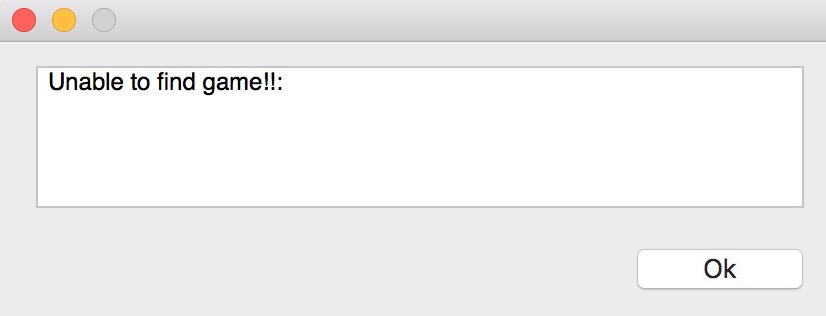 | After unzip try to place the app in other folder than the actual one, that works for some people. Other solutions can be found here. |
Tips | |
 | Inside the particles we added a "visuals" tab on you can find lots or sprites to be used, imported and scaled. Also there is a slider called "Rotation" very useful to change the original sprite rotation. As you can see using the original sprite makes the FX looks like some tunnel effect or can be used as water drops or similar. If you change it to 90º you have a nice starfield effect. Here is a video tutorial showing the process to create the starfield from scratch, hope this helps to understand better how all works! ;) . |